Become a Global YouTuber from Your Room with Enhancor AI Lipsync
Hello creators, welcome back to A2SET’s AI Tutorial.
Have you ever wanted to create a video where an AI avatar speaks naturally in front of the camera?
Maybe you want to run a YouTube Shorts channel without showing your real face.
Maybe you want your original character to speak English, Japanese, Spanish, or another language.
Or maybe you want to test a virtual influencer concept before investing in a full video production pipeline.
In the past, this kind of content required many complicated steps. You needed character design, voice recording, facial animation, manual lip-sync editing, and sometimes even 3D rigging or motion capture.
Now, AI lip-sync tools are making this workflow much easier for individual creators.
In this tutorial, we will use the Lipsyncing feature in Enhancor to create a short multilingual avatar-style video using only two main sources:
a face image and a voice file.
The goal is not to say that AI lip-sync will be perfect every time. The result can still depend on image quality, audio clarity, model settings, and the complexity of the scene. However, for testing avatar videos, global Shorts concepts, and virtual creator content, this workflow can be a very useful starting point.
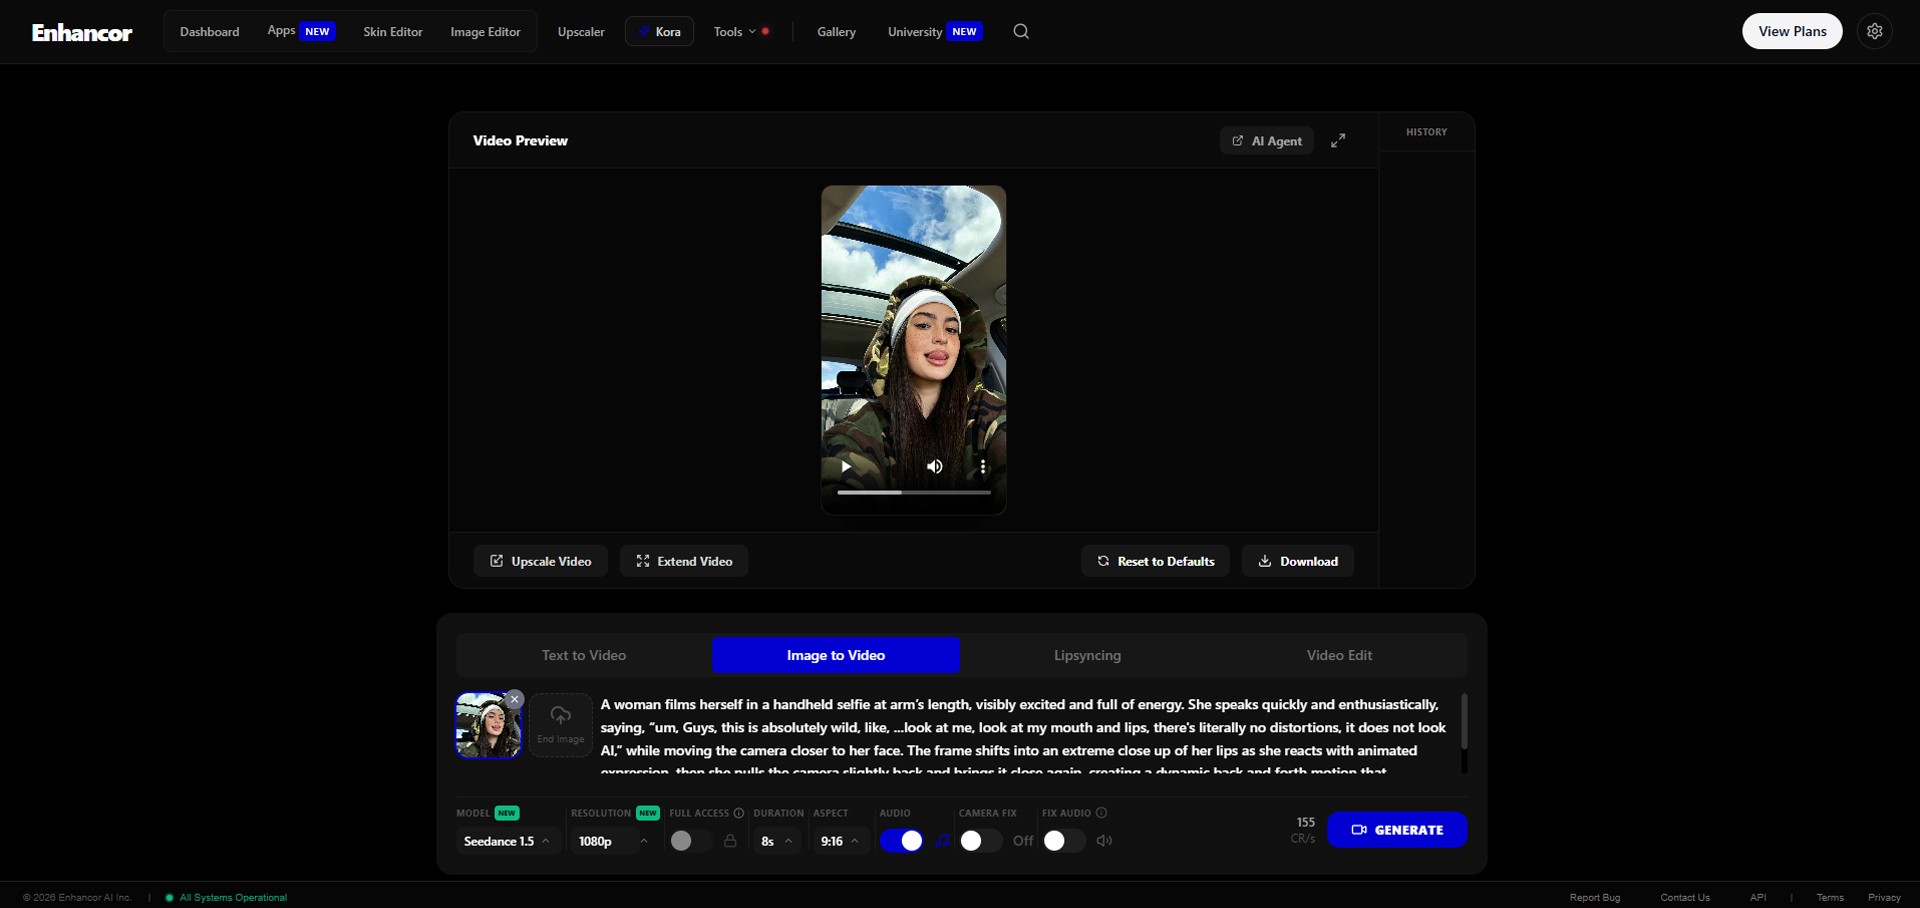
Image caption: Enhancor AI Lipsync can help creators turn a still avatar image and voice audio into a short talking video.
Before You Start: Quality and Plan Check
AI lip-sync generation requires advanced video processing. The model needs to analyze the face, estimate mouth shapes, follow the audio, and generate a new video frame by frame.
For casual testing, you can start with the available plan or trial options in your account.
For commercial use, higher resolution, watermark-free export, or more stable results, you may need to check Enhancor’s current pricing and plan details before publishing.
This is important because tool features, model names, export quality, and usage limits can change over time.
So before using the final result in a public project, always check:
available model version,
export resolution,
watermark policy,
commercial usage terms,
credit cost,
and audio/video length limits.
Step 1: Project Prep — Prepare the Face and Voice
Before entering the Lipsyncing tab, prepare two main ingredients.
Image caption: For AI lip-sync generation, you need a clear face source and a clean voice source.
1. Face Source Image
The face source is the image that will become your speaking avatar.
This can be an original AI-generated character, a virtual influencer image, a brand character, or a photo you have permission to use.
For better results, prepare a clear image with a front-facing or slightly angled face.
A good face source should have:
a clearly visible mouth,
clean lighting,
one main subject,
a stable facial expression,
no heavy blur,
no hands covering the face,
and no strong shadows around the lips.
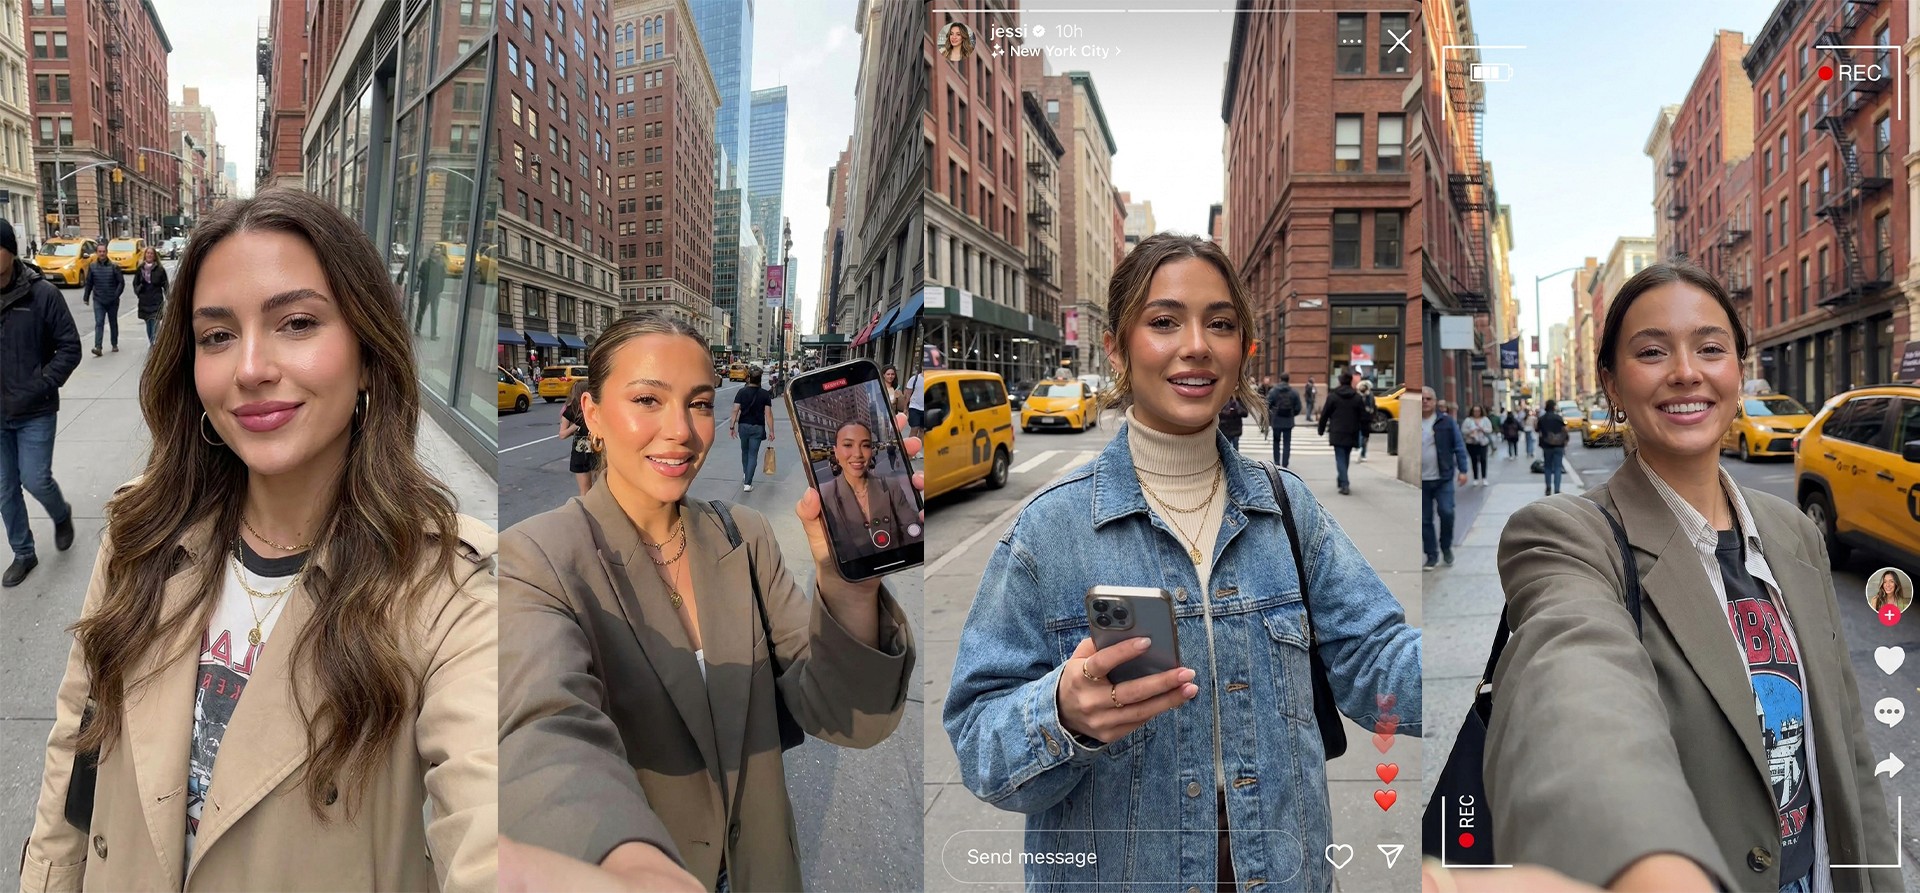
Image caption: A clear front-facing or semi-profile face image helps the AI track the mouth and facial features more accurately.
2. Voice Source Audio
The voice source is the audio file that your avatar will speak.
You can use your own recorded voice, a translated narration, or an AI-generated voiceover from tools such as ElevenLabs or other voice platforms.
For the first test, keep the script short and clear.
A good voice source should have:
clear pronunciation,
low background noise,
natural speaking speed,
one language per test,
and a clean ending without being cut off.

Image caption: Clean voice audio helps the lip-sync model follow pronunciation, rhythm, and timing more naturally.
Step 2: Access the Lipsyncing Tab and Set Up the Image
Once your face image and audio file are ready, go to the Enhancor platform.
From the top menu, enter the Video Generator or Apps area. Then choose the Lipsyncing tab from the available video options.
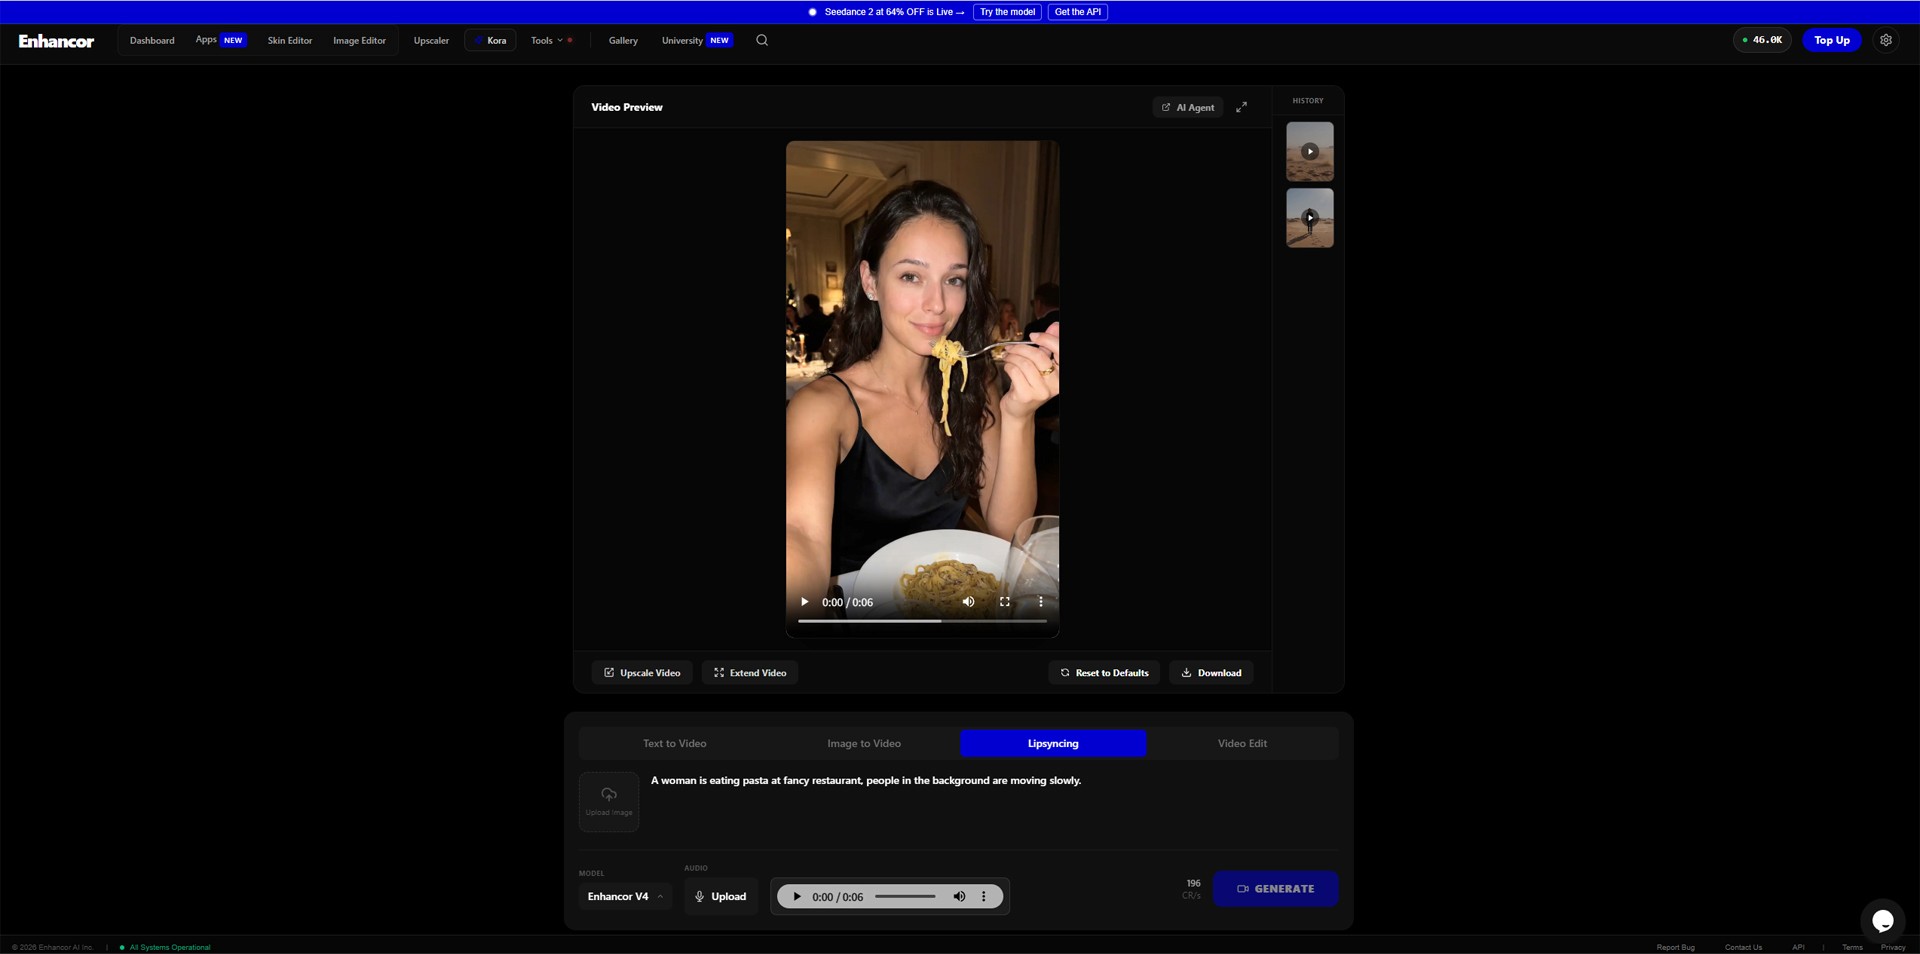
Image caption: In Enhancor, choose the Lipsyncing workflow and upload your prepared face source image.
After entering the Lipsyncing tab, upload the face source image using the image upload icon next to the prompt input area.
Before moving forward, check the preview carefully.
Make sure:
the face is clearly visible,
the mouth area is not covered,
the image has only one main character,
and the image matches the avatar style you want.
If the uploaded image already looks unclear, the final lip-sync result may also feel unstable.
Step 3: Add a Simple Directing Prompt
After uploading the image, you need to tell the AI what kind of scene you want to create.
For lip-sync videos, it is usually better to avoid too much movement. If the character walks, turns around, or moves too dramatically, the mouth and face may become less stable.
A simple standing or selfie-style shot is often better.
Practical Lipsync Directing Prompt
Create a realistic avatar lip-sync video based on the uploaded face image and audio.
The character is standing naturally and looking directly at the camera.
Use a stable front-facing camera angle with subtle head movement, natural blinking, and a calm facial expression.
Keep the same face, hairstyle, outfit, and identity from the uploaded image.
The background should feel clean, cinematic, and suitable for a global creator-style video.
The mouth movement should follow the uploaded audio as naturally as possible.
Keep the character’s expression friendly and confident.
Do not add subtitles, logos, watermarks, extra characters, or sudden camera cuts.
A2SET Tip
For AI lip-sync videos, stability is more important than dramatic motion.
If this is your first test, keep the character mostly still and looking at the camera. This gives the model a better chance to focus on the mouth movement, facial details, and audio timing.
Step 4: Select Model, Upload Audio, and Generate
Once the image and prompt are ready, move to the model and audio settings.
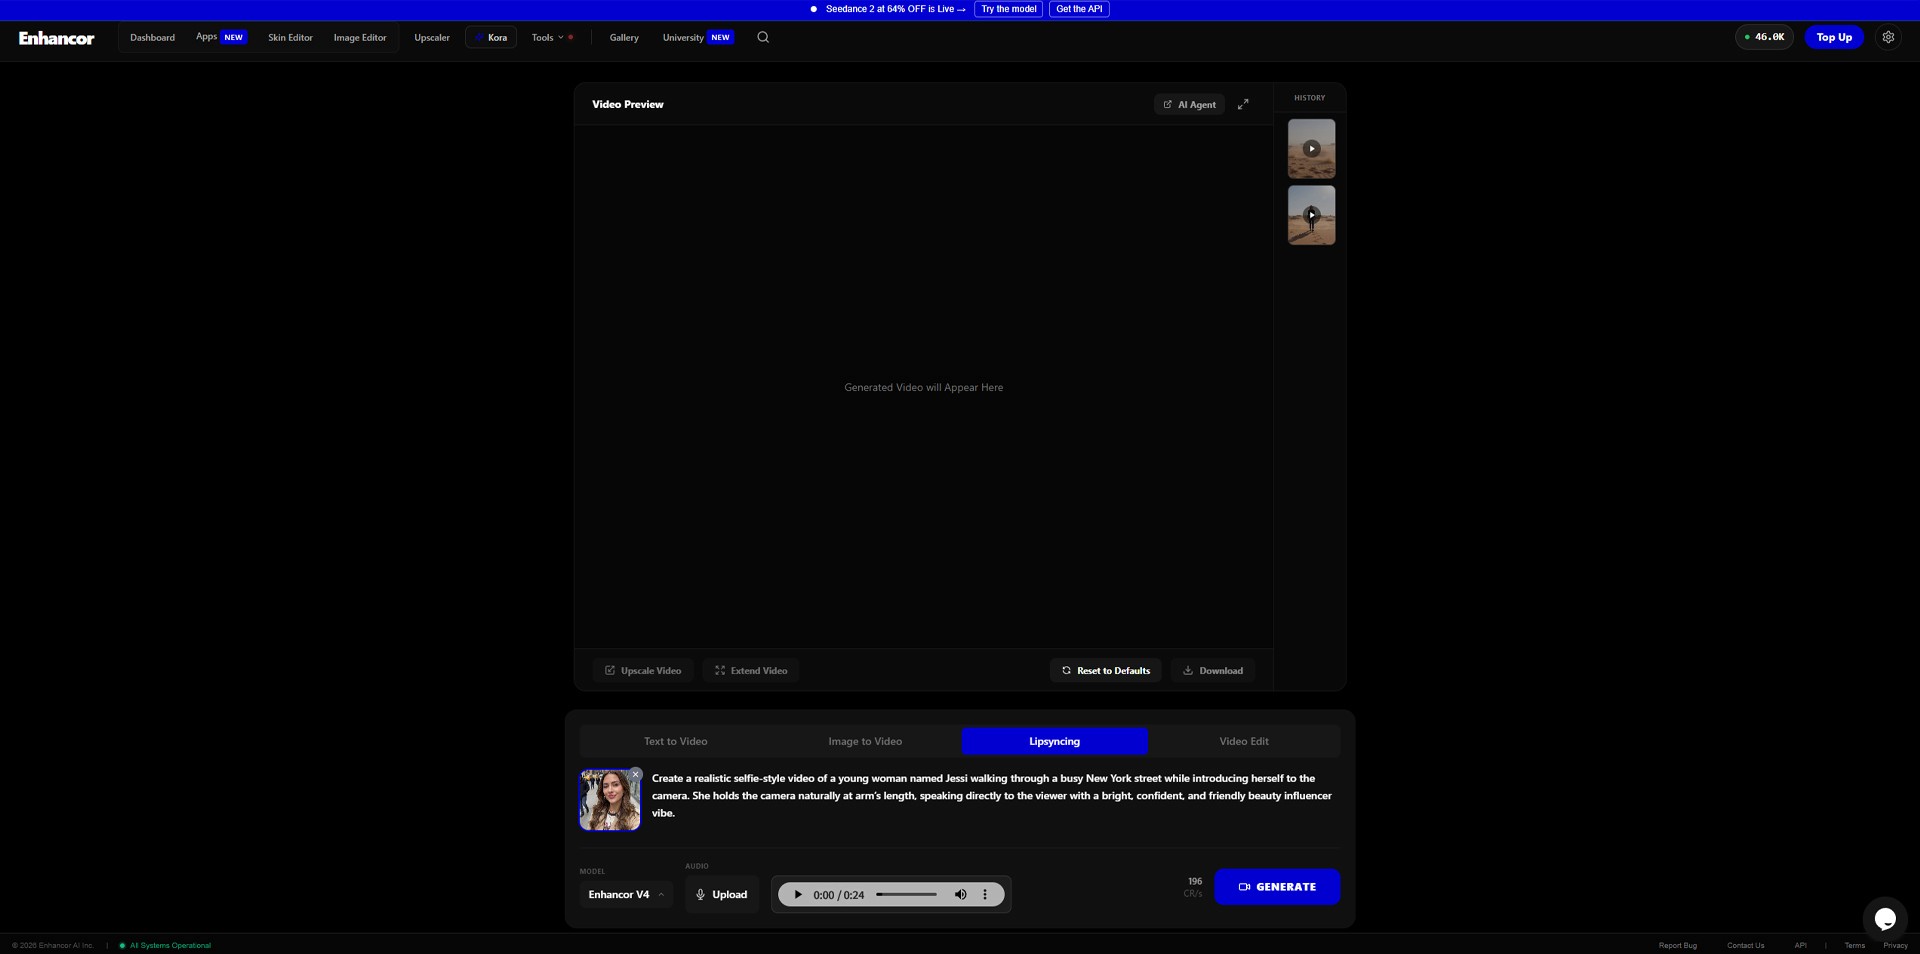
Image caption: Select the model, upload your voice file, and check the settings before generating the final video.
In the model dropdown, choose the latest suitable Enhancor model available in your account. In the original workflow, the example uses Enhancor V4 for the lip-sync process.
Next, upload the voice file you prepared earlier. The file may be MP3, WAV, or another supported format depending on the current platform settings.
After uploading the audio, play the preview if the option is available.
Check:
whether the audio plays correctly,
whether the voice is clear,
whether the language is correct,
whether the sentence is complete,
and whether the speaking speed is not too fast.
When everything is ready, click Generate.
Enhancor will use the uploaded face image as the visual source and the uploaded audio as the speech source. The AI then generates a new video where the avatar appears to speak with synchronized mouth movement.
Step 5: Check the Result
After the video is rendered, play it from beginning to end.
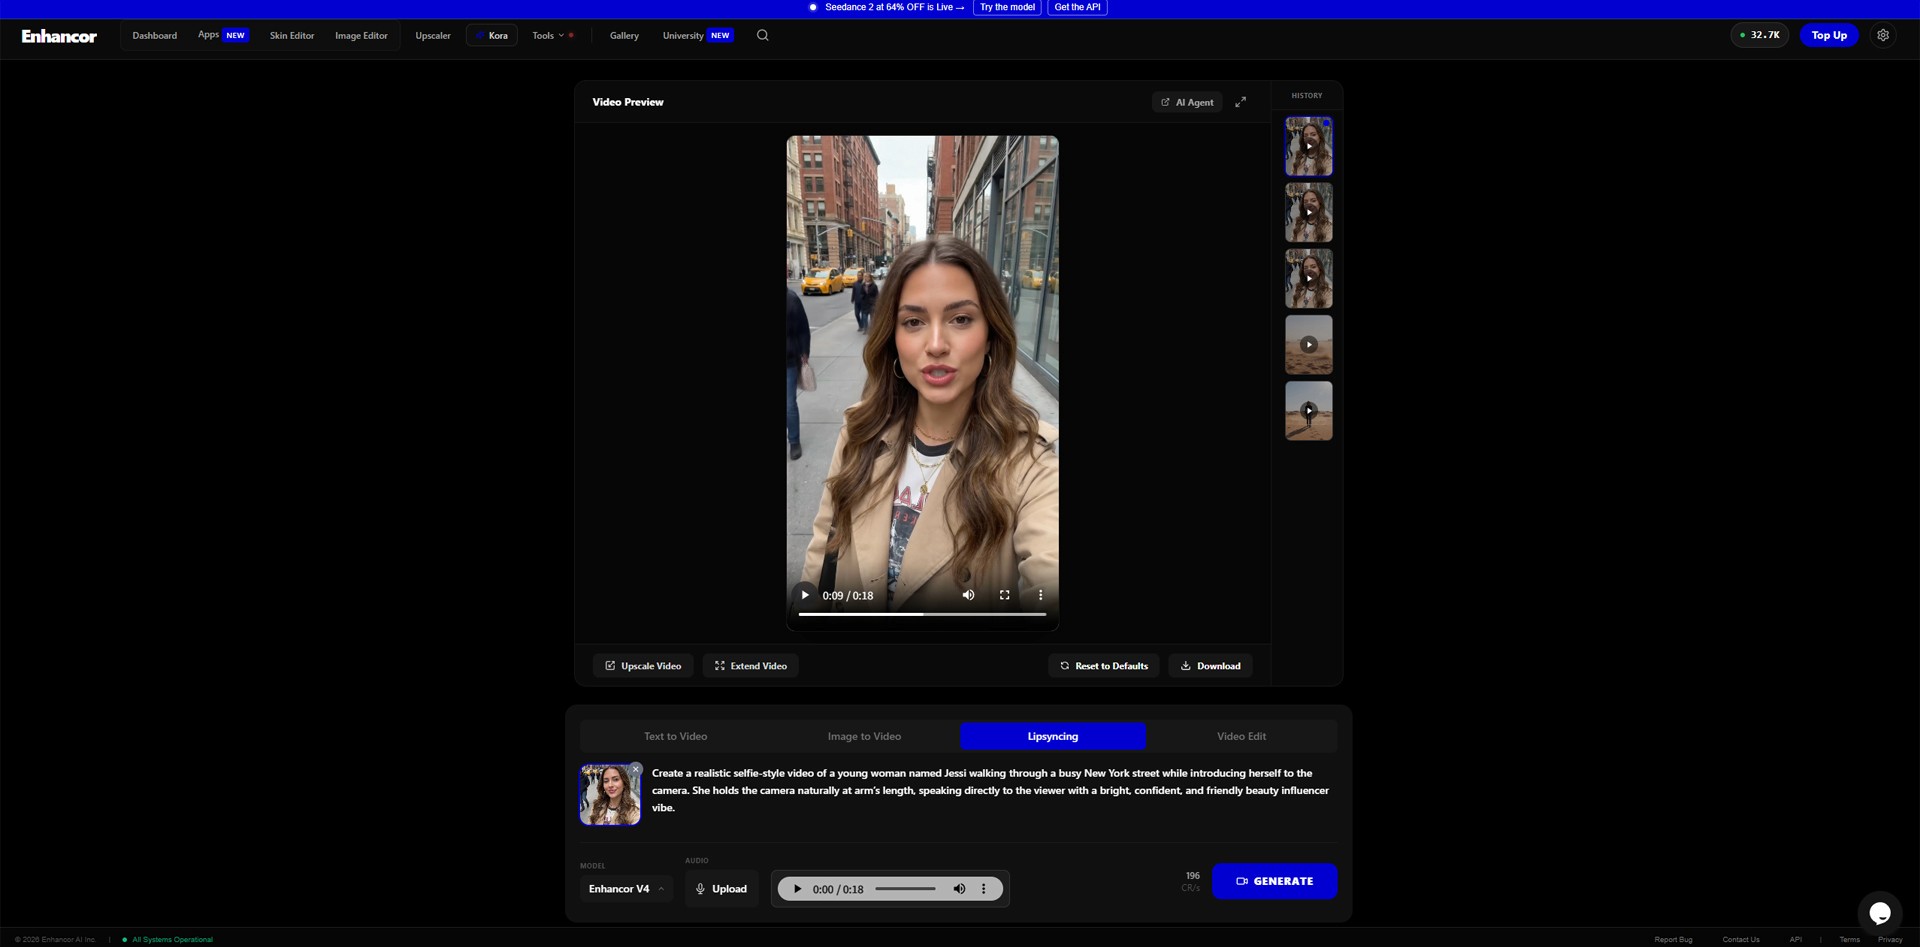
Image caption: Review the final AI lip-sync video carefully before downloading or publishing it.
Do not only check whether the result looks impressive at first glance. Look closely at the details.
Check the face:
Does the character identity stay consistent?
Does the mouth movement look natural?
Are the eyes and blinking stable?
Does the jaw movement feel believable?
Check the audio:
Is the voice clear?
Does the mouth follow the speech timing?
Is the sentence complete?
Does the speaking speed feel natural?
Check the overall video:
Is the background stable?
Are there any strange distortions?
Are there unwanted subtitles, logos, or artifacts?
Would the video make sense to viewers without extra explanation?
If the result is not stable, adjust one thing at a time. Try a clearer face image, shorter audio, slower narration, or a more stable prompt.
Common Issues and Simple Fixes
If the mouth movement looks unnatural
Use a shorter audio file and make the speech slower.
You can also add this line to the prompt:
The character should speak at a natural pace with relaxed mouth movement and realistic jaw motion.
If the face changes during the video
Add this line:
Keep the same facial structure, hairstyle, skin tone, outfit, and identity from the uploaded image throughout the entire video.
If the character moves too much
Add this line:
Keep the camera and body mostly stable. Use only subtle head movement, natural blinking, and small facial expressions.
If the audio feels out of sync
Try a cleaner audio file with less background noise.
Also avoid very fast speech, strong music behind the voice, or long complicated sentences.
How to Use This for Multilingual Content
Once the first version looks stable, you can create additional language versions.
For example, you can prepare separate voice files for:
English,
Japanese,
Spanish,
Arabic,
Korean,
or any other language your content needs.
Use the same face source image and replace only the audio file.
This makes the workflow useful for creators who want to test global content without filming a new video for every language version.
However, always review each language version manually. Some languages may produce better lip-sync results than others depending on pronunciation, rhythm, and audio clarity.
Responsible Use Notes
AI lip-sync can be powerful, but it should be used carefully.
Do not use another person’s face or voice without permission.
Do not create fake statements from real people.
Do not impersonate celebrities, public figures, private individuals, customers, or creators.
Do not present an AI avatar as a real person testimonial if that is not true.
For brand or commercial projects, also check the platform’s usage terms, commercial rights, and watermark policy before publishing.
A simple production record is also helpful.
Keep:
the original face image,
the original audio,
the script,
the prompt,
the generated video,
and the final edited version.
This makes your workflow cleaner and safer if you use the video later for a campaign, client project, or public content channel.
Conclusion
AI lip-sync tools are making avatar video production much more accessible.
With one face image and one voice file, creators can now test multilingual talking videos, virtual influencer concepts, global Shorts content, and character-based product explainers much faster than before.
This does not mean every result will be perfect.
You still need a clear image, clean audio, a simple prompt, and careful review.
But as a creative workflow, Enhancor AI Lipsync can be a useful way to turn a still character into a speaking avatar.
Start with a short script.
Use a clean face image.
Upload clear audio.
Keep the motion simple.
Then review and refine the result before publishing.
For creators who want to reach global audiences without filming every version from scratch, this kind of AI workflow can be a practical first step.
We will return in the next A2SET tutorial with more useful AI workflows for creators, designers, and small production teams.
Quick FAQ
Can I create multilingual avatar videos with one image?
Yes. You can use one face image and create different versions by uploading different language audio files. The result may vary depending on the audio quality and language.
Does AI lip-sync always look perfect?
No. The result depends on the image, audio, model, and prompt. You may need several tests to get a natural result.
What kind of face image works best?
A clear front-facing or slightly angled face image with visible lips and clean lighting usually works best.
What kind of audio works best?
Clear voice audio with low background noise and natural speaking speed works best. Short scripts are easier to control than long scripts.
Can I use this for YouTube Shorts or Reels?
Yes, but make sure you have the rights to use the face image, voice audio, and generated result. Also check the tool’s commercial usage policy.
Can I use a real person’s face or voice?
Only if you have proper permission. Avoid using celebrities, public figures, private individuals, or customers without consent.
Should I disclose that the video is AI-generated?
For public-facing or commercial content, clear disclosure is usually safer and more transparent, especially if viewers might think the avatar is a real person.