How to Edit AI Videos Like a Conversation with Gemini Omni
Hello creators, welcome back to A2SET’s AI Tutorial.
One of the most frustrating parts of AI video generation is what happens after the first result.
In many tools, if the first output is not quite right, you often need to rewrite the whole prompt or generate the scene again from scratch.
Gemini Omni feels different.
Its biggest strength is that you can start with one generated result and then improve it with follow-up instructions, almost like you are having a conversation with the video.
In this tutorial, we will start with one product image or a short product clip, generate a first AI video, and then refine it step by step using natural-language prompts.
The goal is simple.
We want to shape the result into a cleaner 9:16 product ad video for social media.
Image caption: Gemini Omni makes AI video editing feel more like a conversation than a one-time prompt.
Step 1: Prepare the image or short clip
First, choose the visual reference you want to use.
For early testing, it is better to use a clean product image rather than a complicated scene.
Good starting references include:
a single product image
a hand-holding-product image
a short product clip
a front-facing package image
a clean product photo with a simple background
For this tutorial, we will assume you are using one product image.
Let’s imagine it is a skincare serum.
The goal is to create a vertical 9:16 short-form ad video where the product stays visible and clearly presented.
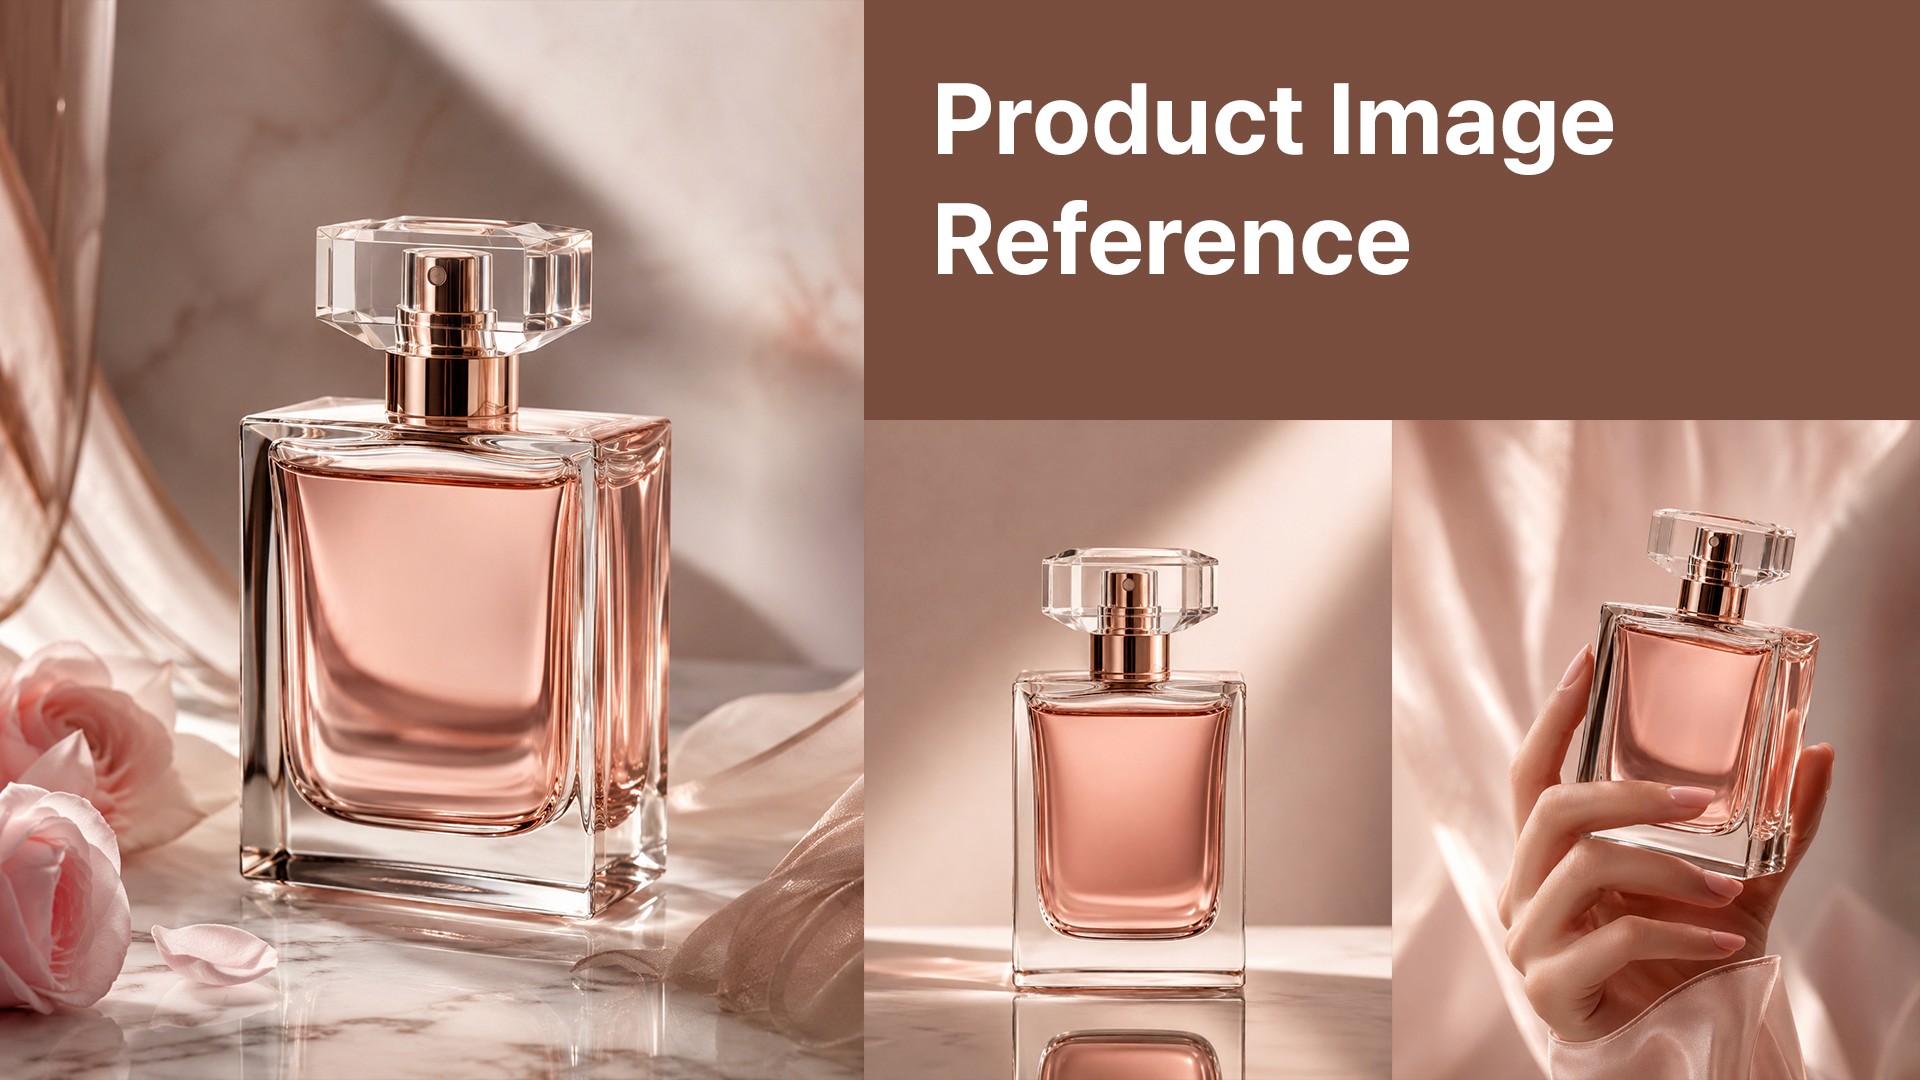
Image caption: Start with one clear product image so Gemini Omni has a strong visual reference.
Step 2: Create the first AI video
Upload the product image into Gemini Omni.
Then write your first generation prompt.
It is usually better not to overload the first prompt with too many requests.
Start by clearly defining the product focus and overall visual mood.
Prompt to use:
This first prompt is only meant to create a solid base.
It does not need to be perfect.
The key advantage of Gemini Omni is that you can improve the result through follow-up prompts.
Image caption: The first generation should create a clean base video that can be improved through follow-up prompts.
Step 3: Adjust the camera movement
If the first result feels too static, too distant, or not cinematic enough, improve the camera movement first.
Instead of rewriting the whole prompt, revise the current video.
Prompt to use:
This kind of revision works well because it clearly says what should stay the same and what should change.
That is one of the best ways to use follow-up prompts.
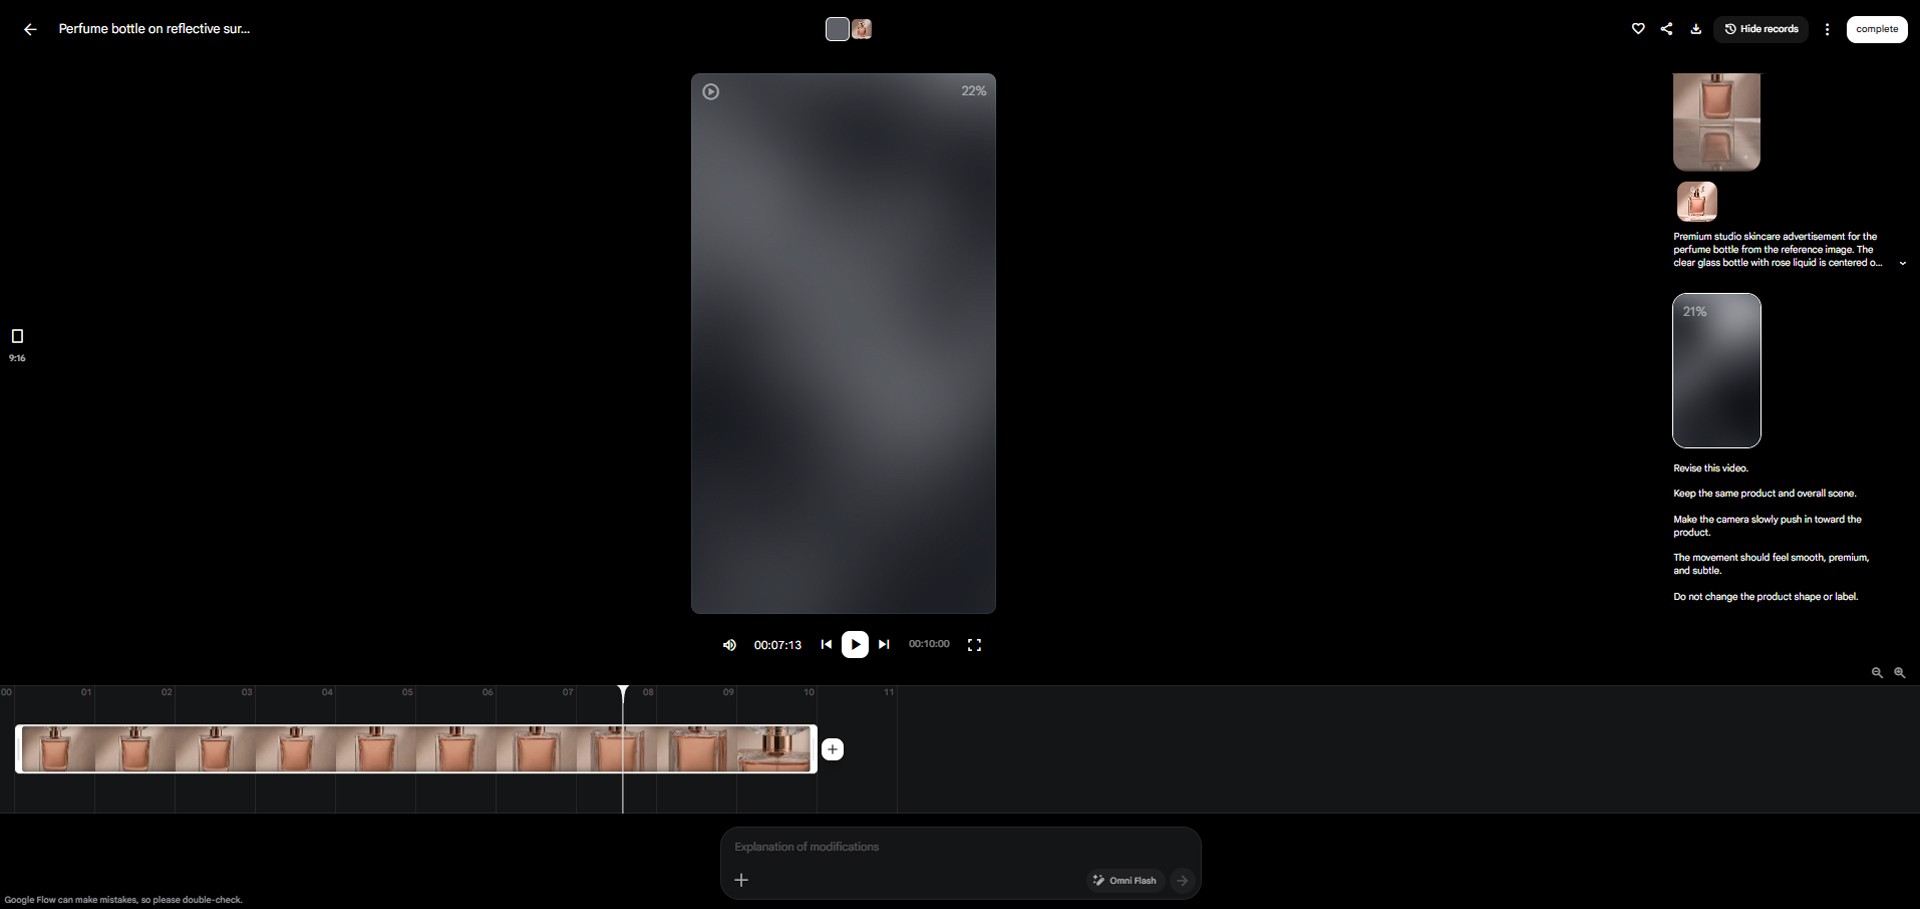
Image caption: Use follow-up prompts to adjust the camera movement without restarting the whole video.
Step 4: Change the background and lighting
Now let’s say the product looks good, but the scene still feels plain.
In that case, revise the background and lighting while keeping the product unchanged.
Prompt to use:
This is helpful when the product is already working, but the overall ad mood is still weak.
For product advertising, a cleaner scene is usually more effective than an overly decorative one.
Image caption: Background and lighting edits can make the same product video feel more polished and commercial.
Step 5: Refine the final hero frame
For short-form product ads, the final frame matters a lot.
You want the ending moment to work almost like a product thumbnail.
The product should feel centered, clear, and easy to understand at a glance.
Prompt to use:
This is especially useful if you want to add your own captions, CTA, or subtitles later in another editing tool.
Image caption: A clear final product frame makes the video easier to use as a short-form ad or thumbnail.
Step 6: Review the video for 9:16 social use
Once the result feels close to what you want, do one last review.
Ask Gemini Omni to check whether the video works well as a vertical product ad.
Prompt to use:
At this stage, the goal is not endless regeneration.
The goal is to check whether the result is actually usable for Reels, TikTok, or Shorts.
A2SET Test Notes
The most important part of this workflow is not trying to make the perfect video in one prompt.
A more stable process is to build the result in layers.
First, make sure the product is visible.
Then improve the camera movement.
Then clean up the background and lighting.
Finally, shape the last frame into a clear hero shot.
This step-by-step approach is much easier than starting over every time.
For the blog visuals, three screenshots are enough.
The first image can show the original product image.
The second image can show the first generated result.
The third image can show the edited final result after follow-up prompts.
Common Issues and Simple Fixes
If the product changes too much, use this:
Keep the product shape, label, and color consistent with the original image.
If the scene feels too busy, use this:
Reduce unnecessary background elements and keep the product as the main focus.
If the camera move feels too aggressive, use this:
Make the camera movement slower, smoother, and more subtle.
If the result does not feel commercial enough, use this:
Make the scene feel more like a premium product commercial.
If you need more space for captions, use this:
Leave clean empty space for captions at the top and bottom of the 9:16 frame.
Responsible Use Notes
Before using an AI-generated product video in a real campaign, make sure the result still matches the actual product.
Check the product shape, label, color, package details, and usage context carefully.
For beauty, wellness, food, or hair-related products, avoid exaggerated results or claims that may look misleading.
If the AI generates any text or brand-like marks inside the video, check that they match your real product assets.
Before publishing the final ad, also review captions, logos, CTA text, music licensing, and usage rights.
Conclusion
In this tutorial, we looked at how to edit AI videos like a conversation with Gemini Omni.
The workflow is simple.
Prepare one product image or short clip.
Generate the first 9:16 product video.
Refine the camera movement.
Improve the background and lighting.
Polish the final hero frame.
Review the result for social media use.
Traditional AI video generation often feels like a one-prompt process.
Gemini Omni becomes more useful when you treat the process like a conversation.
That makes it especially useful for product ads, short-form content, teaser videos, and quick brand visual testing.
We will return in the next A2SET tutorial with more practical AI workflows for real creative projects.
Quick FAQ
What is Gemini Omni?
Gemini Omni is Google’s AI video model that can use image, video, audio, and text inputs to generate video and refine results through conversational follow-up prompts.
What do I need for this tutorial?
You can start with one product image or a short product clip. For the cleanest test, a simple product image usually works best.
Is it better to write one perfect prompt?
Usually no. It is more stable to generate a base video first, then improve the camera, background, lighting, and final framing step by step.
Can I make 9:16 vertical videos?
Yes. It helps to clearly mention 9:16 vertical video, Instagram Reels, TikTok, or YouTube Shorts in your prompt.
Should I add captions directly inside the video?
It is usually better to leave clean space for captions and add them later in a separate editing tool.
Can I use the result in a real ad?
You can use it as a draft or creative asset, but before publishing, you should check the product appearance, label accuracy, claims, music rights, and brand usage carefully.